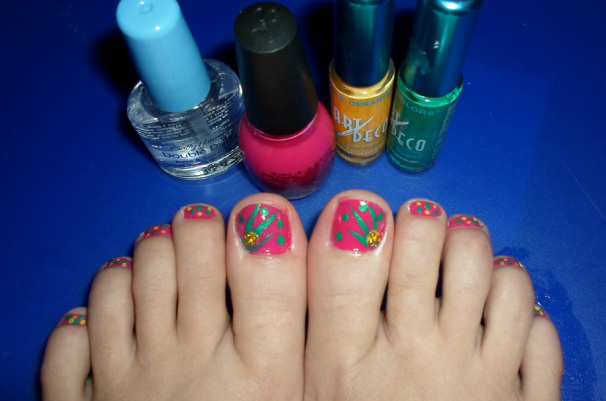
For me one of the best parts of summer is sandals... and that means getting all crazy with my toe nails! You've got to have cute toes to show off in those sandals, right? Lately I've been wearing a lot of pink, turquoise, and yellow so those are the colors I chose to work with today. (I must add that it's kinda tricky to do your toes while taking pictures, just an FYI)
What you'll need:
* I got both of these on amazon if you get items that are sold by amazon an order of $25 or more will ship for free, their new add on items are great. They have everything a nail salon does only cheaper and you can do it yourself for less!
What you'll need:
- A primary nail polish
- Nail Art polishes of your choice (I try to only do 2 or 3 colors at a time but their your toes so have fun)
- Clear top coat
- Rhinestones*
- Dotting tools* (bobby pins, q-tips, and toothpicks work well also)
- Nail polish remover and q-tips or cotton balls
* I got both of these on amazon if you get items that are sold by amazon an order of $25 or more will ship for free, their new add on items are great. They have everything a nail salon does only cheaper and you can do it yourself for less!
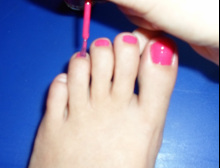
1. Prep your toes: remove old polish, clip, etc... Then apply primary color!
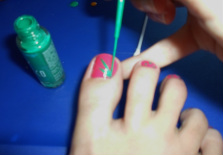
2. Pick which of your nail art colors you want to show off most and do your lines. I always start from a corner and do the longest line first. You can go straight across at a diagonal or you can curve it a little.

3. Lets get ready to dot... If you're using three colors take a little of your remaining colors, and place a little puddle on a surface you don't mind having nail polish on. If you're using two like I did then do the same thing with both or your accent colors
(I use the top of 1 of my craft boxes its plastic & I don't care if it gets more paint on it)
(I use the top of 1 of my craft boxes its plastic & I don't care if it gets more paint on it)
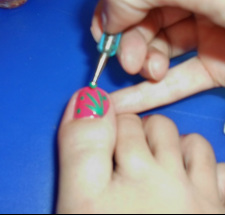
4. Now dip your tool in the color of your choice and dot your toe.. you want to make sure there is enough polish on there to get a complete dot. If the nail polish puddle is drying up you'll end up with a glob of paint or only half of a dot. If there is enough paint on your tool you should be able to get 2-3 nice dots before re-dipping.
(I used a bigger dotting tool for the big toe than the little toes. You want the big toe to be the most creative because it clearly has more room to work with and its too hard to see the smaller toes.)
(I used a bigger dotting tool for the big toe than the little toes. You want the big toe to be the most creative because it clearly has more room to work with and its too hard to see the smaller toes.)
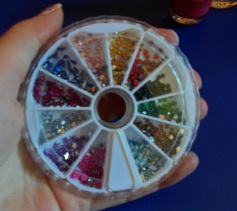
4. Now for the last part I'm still not too great at putting the little gems on without dropping them so I didn't get a pic of this step. I chose to use the yellowish gold ones on the top, they were round and I thought they'd complement the yellow dots I did on my little toes.
Using a dotting tool or a damp toothpick pull out a gem and place it on your still damp toes. Press down a little to help set it in place. Apply as many or as few as you want, again their your toes so have fun! Then put on your top coat using a little more around your gems to help secure them in place. Let dry and apply a second top coat... All done!
Using a dotting tool or a damp toothpick pull out a gem and place it on your still damp toes. Press down a little to help set it in place. Apply as many or as few as you want, again their your toes so have fun! Then put on your top coat using a little more around your gems to help secure them in place. Let dry and apply a second top coat... All done!
 RSS Feed